
Notice
Recent Posts
Recent Comments
Link
| 일 | 월 | 화 | 수 | 목 | 금 | 토 |
|---|---|---|---|---|---|---|
| 1 | 2 | 3 | 4 | |||
| 5 | 6 | 7 | 8 | 9 | 10 | 11 |
| 12 | 13 | 14 | 15 | 16 | 17 | 18 |
| 19 | 20 | 21 | 22 | 23 | 24 | 25 |
| 26 | 27 | 28 | 29 | 30 |
Tags
- Spring
- 공부
- 코틀린 코루틴의 정석
- tucker의 go 언어 프로그래밍
- kotlin
- minikube
- 정보처리기사 실기 기출문제
- CKA
- go
- CKA 기출문제
- aws
- AI
- LLM
- Java
- Linux
- golang
- Rag
- CloudWatch
- 오블완
- SRE
- MySQL
- AWS EKS
- HARNESS
- PETERICA
- 기록으로 실력을 쌓자
- Kubernetes
- 티스토리챌린지
- kotlin coroutine
- Pinpoint
- 바이브코딩
Archives
- Today
- Total
피터의 개발이야기
[Linux] curl을 사용하여 HTTP 헤더를 확인 방법 본문
반응형

ㅁ 들어가며
[Nginx] NGINX에서 정적 파일 캐시 설정하는 방법을 알아보면서 HTTP 헤더의 확인이 필요하였다.
ㅁ 헤더만 보기 (-I 옵션)
$ curl -I http://example.com
HTTP/1.1 200 OK
Content-Type: text/html
ETag: "84238dfc8092e5d9c0dac8ef93371a07:1736799080.121134"
Last-Modified: Mon, 13 Jan 2025 20:11:20 GMT
Cache-Control: max-age=1190
Date: Sun, 09 Mar 2025 14:46:37 GMT
Connection: keep-alive
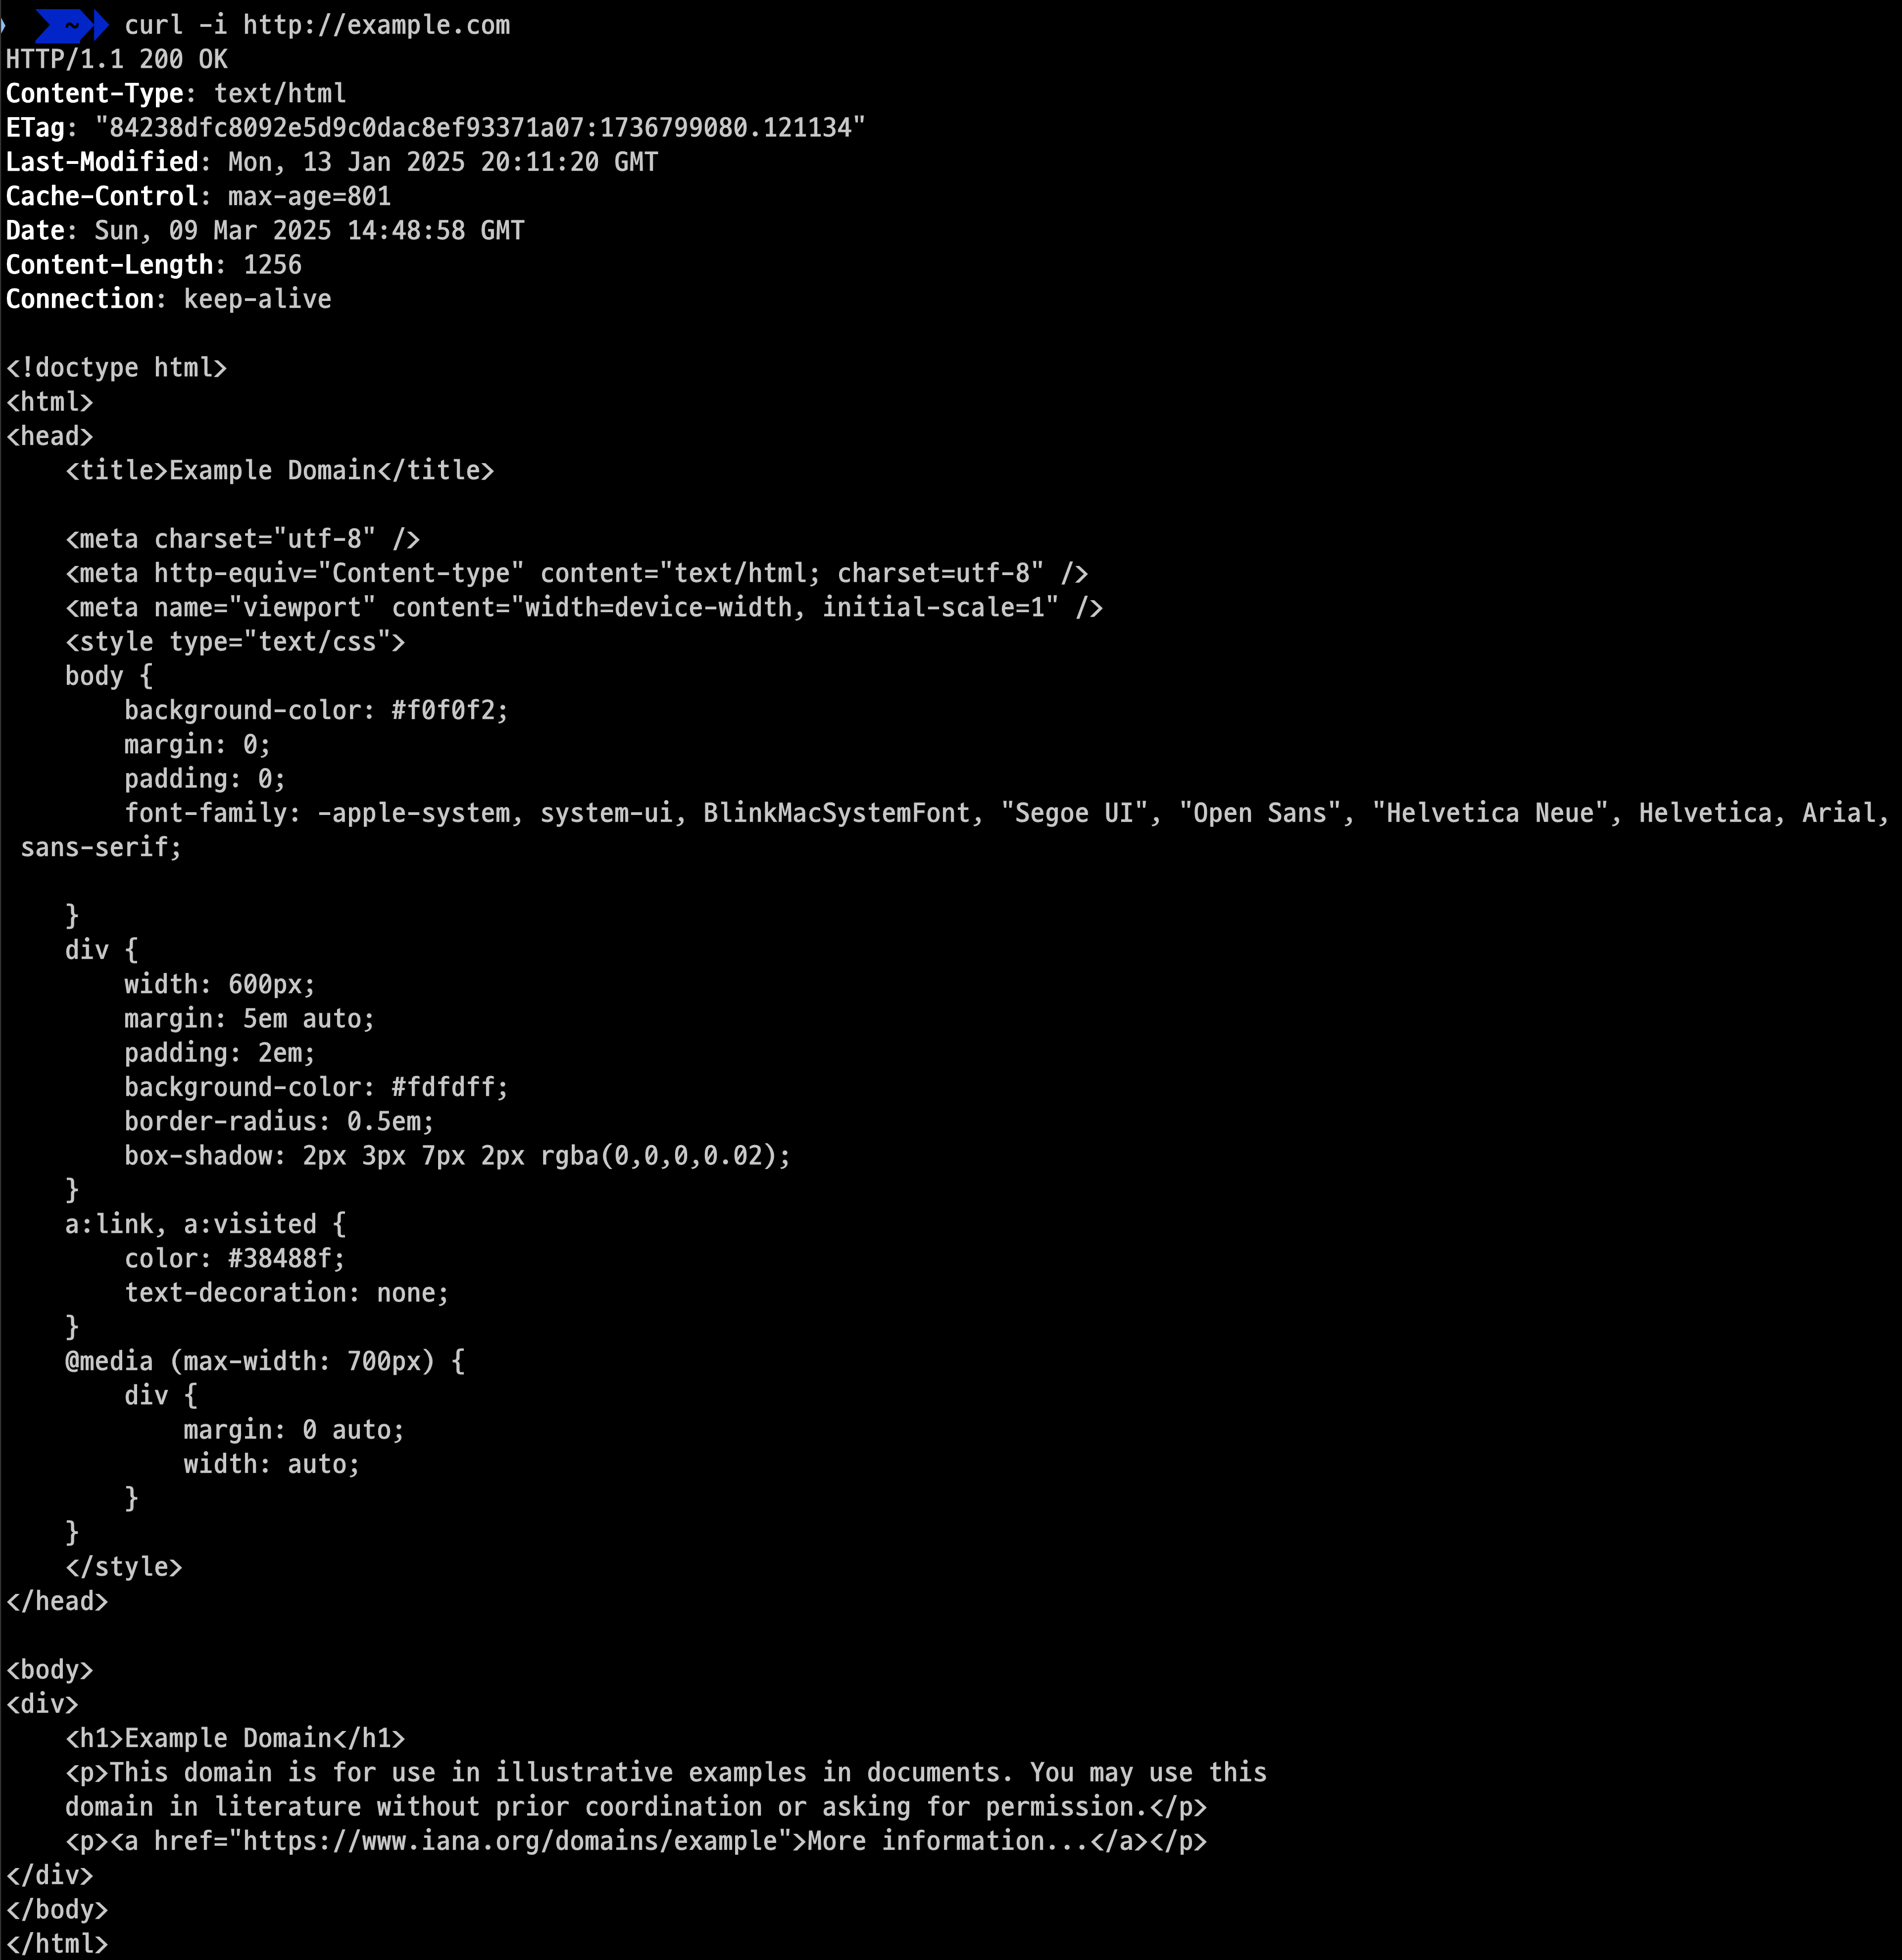
ㅁ 헤더와 본문 함께 보기 (-i 옵션)
$ curl -i http://example.com
HTTP/1.1 200 OK
Content-Type: text/html
ETag: "84238dfc8092e5d9c0dac8ef93371a07:1736799080.121134"
Last-Modified: Mon, 13 Jan 2025 20:11:20 GMT
Cache-Control: max-age=801
Date: Sun, 09 Mar 2025 14:48:58 GMT
Content-Length: 1256
Connection: keep-alive

<!doctype html>
<html>
<head>
    <title>Example Domain</title>

    <meta charset="utf-8" />
    <meta http-equiv="Content-type" content="text/html; charset=utf-8" />
    <meta name="viewport" content="width=device-width, initial-scale=1" />
    <style type="text/css">
    body {
        background-color: #f0f0f2;
        margin: 0;
        padding: 0;
        font-family: -apple-system, system-ui, BlinkMacSystemFont, "Segoe UI", "Open Sans", "Helvetica Neue", Helvetica, Arial, sans-serif;

    }
    div {
        width: 600px;
        margin: 5em auto;
        padding: 2em;
        background-color: #fdfdff;
        border-radius: 0.5em;
        box-shadow: 2px 3px 7px 2px rgba(0,0,0,0.02);
    }
    a:link, a:visited {
        color: #38488f;
        text-decoration: none;
    }
    @media (max-width: 700px) {
        div {
            margin: 0 auto;
            width: auto;
        }
    }
    </style>
</head>

<body>
<div>
    <h1>Example Domain</h1>
    <p>This domain is for use in illustrative examples in documents. You may use this
    domain in literature without prior coordination or asking for permission.</p>
    <p><a href="https://www.iana.org/domains/example">More information...</a></p>
</div>
</body>
</html>
ㅇ 이 명령은 응답 헤더와 본문을 모두 표시된다.
ㅁ 상세 정보 보기 (-v 옵션)
$ curl -v http://example.com
*   Trying 23.192.228.80:80...
* Connected to example.com (23.192.228.80) port 80
~~~ 생략 ~~~
* Connection #0 to host example.com left intact
ㅇ 이 옵션은 요청 및 응답 헤더를 포함한 자세한 정보를 표시

ㅁ HTTPS 사이트의 경우
$ curl -k -I https://example.com
HTTP/2 200
content-type: text/html
etag: "84238dfc8092e5d9c0dac8ef93371a07:1736799080.121134"
last-modified: Mon, 13 Jan 2025 20:11:20 GMT
cache-control: max-age=1200
date: Sun, 09 Mar 2025 15:05:28 GMT
alt-svc: h3=":443"; ma=93600,h3-29=":443"; ma=93600,quic=":443"; ma=93600; v="43"
ㅇ -k 옵션은 SSL 인증서 검증을 건너뛰어 HTTPS 사이트의 헤더를 확인할 수 있다.
ㅁ 특정 HTTP 메소드 사용
$ curl -X GET -I http://example.com
HTTP/1.1 200 OK
Content-Type: text/html
ETag: "84238dfc8092e5d9c0dac8ef93371a07:1736799080.121134"
Last-Modified: Mon, 13 Jan 2025 20:11:20 GMT
Cache-Control: max-age=767
Date: Sun, 09 Mar 2025 15:06:17 GMT
Content-Length: 1256
Connection: keep-alive
ㅁ 함께 보면 좋은 사이트
반응형
'Linux' 카테고리의 다른 글
| [Linux] 운영체제마다 다른 시작 프로그램 관리 방식 (0) | 2026.03.18 |
|---|---|
| [FFmpeg] ffmpeg의 DNS 캐싱 문제 (0) | 2025.05.20 |
| [Linux] SSH Keygen: 안전한 원격 접속을 위한 키 생성 도구 (0) | 2025.01.16 |
| [FFmpeg] FFprobe 사용법: 멀티미디어 파일 분석하기 (0) | 2025.01.09 |
| [Linux] sudo 명령어의 -E 옵션 알아보기 (0) | 2024.12.04 |
'Linux' Related Articles
more


Comments