Notice
Recent Posts
Recent Comments
Link
| 일 | 월 | 화 | 수 | 목 | 금 | 토 |
|---|---|---|---|---|---|---|
| 1 | 2 | 3 | 4 | 5 | 6 | 7 |
| 8 | 9 | 10 | 11 | 12 | 13 | 14 |
| 15 | 16 | 17 | 18 | 19 | 20 | 21 |
| 22 | 23 | 24 | 25 | 26 | 27 | 28 |
Tags
- 티스토리챌린지
- Kubernetes
- MySQL
- aws
- CKA 기출문제
- 오블완
- tucker의 go 언어 프로그래밍
- PETERICA
- go
- 공부
- Pinpoint
- 코틀린 코루틴의 정석
- kotlin
- minikube
- CKA
- APM
- LLM
- AWS EKS
- SRE
- Linux
- 컨텍스트 엔지니어링
- kotlin coroutine
- CloudWatch
- 바이브코딩
- 정보처리기사 실기 기출문제
- AI
- golang
- Java
- Spring
- 기록으로 실력을 쌓자
Archives
- Today
- Total
피터의 개발이야기
[kotlin] Springboot - JUnit5 테스트 작성, 테스트 클래스 인스턴스화 본문
Programming/Kotlin
[kotlin] Springboot - JUnit5 테스트 작성, 테스트 클래스 인스턴스화
기록하는 백앤드개발자 2024. 5. 17. 10:10반응형

ㅁ 들어가며
ㅇ spring boot tutorial를 참조하여 [kotlin] Springboot 프로젝트 생성-1에서는 프로젝트를 구성하고 로컬에서 구동까지 확인하였다.
ㅇ 이번 글에서는 tutorial의 나머지 부분을 정리하였다.
ㅁ Kotlin으로 JUnit 5 테스트 작성
ㅇ Spring Boot에서 기본적으로 JUnit 5을 사용한다.
package com.peterica.blog

import org.assertj.core.api.Assertions.*
import org.junit.jupiter.api.Test
import org.springframework.beans.factory.annotation.Autowired
import org.springframework.boot.test.context.SpringBootTest
import org.springframework.boot.test.web.client.TestRestTemplate
import org.springframework.boot.test.web.client.getForEntity
import org.springframework.http.HttpStatus

@SpringBootTest(webEnvironment = SpringBootTest.WebEnvironment.RANDOM_PORT)
class IntegrationTests(@Autowired val restTemplate: TestRestTemplate) {

	@Test
	fun `Assert blog page title, content and status code`() {
		val entity = restTemplate.getForEntity<String>("/")
		assertThat(entity.statusCode).isEqualTo(HttpStatus.OK)
		assertThat(entity.body).contains("<h1>blog</h1>")
	}

}
ㅇ IntegrationTests.kt를 작성하여 테스트를 진행하였다.
ㅇ 기본 root 페이지의 상태코드와 제목, content를 확인하였다.

ㅇ 테스트는 성공하였다.
ㅁ 테스트 클래스 인스턴스화
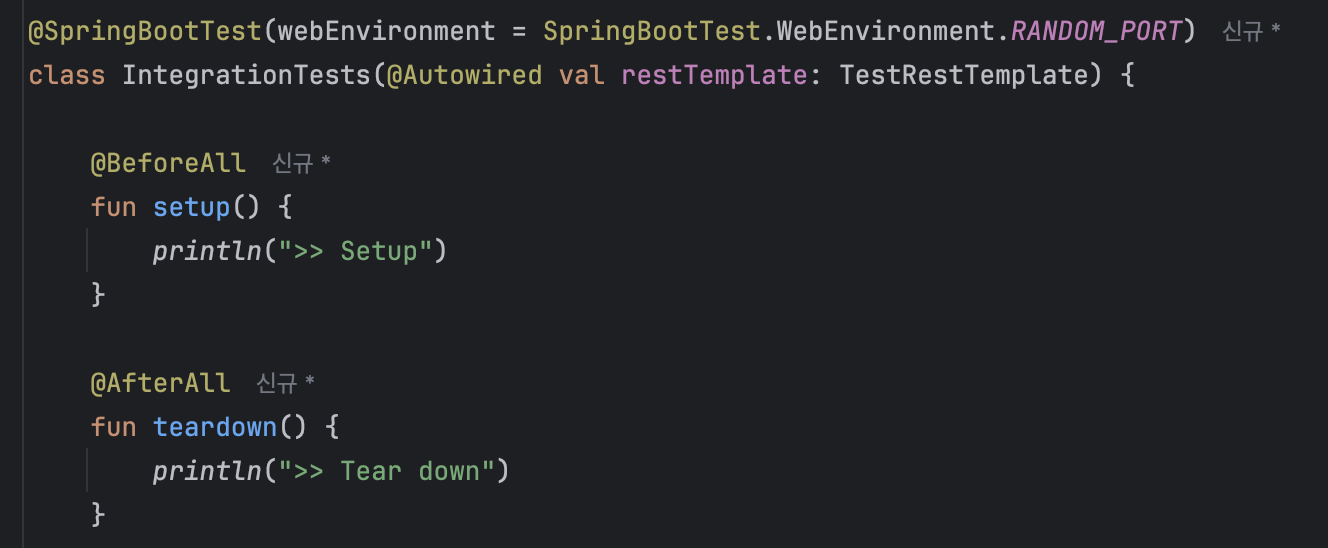
	@BeforeAll
	fun setup() {
		println(">> Setup")
	}

	@AfterAll
	fun teardown() {
		println(">> Tear down")
	}
ㅇ 특정 클래스의 모든 테스트 전후에 메서드를 실행해야 하는 경우가 있습니다.

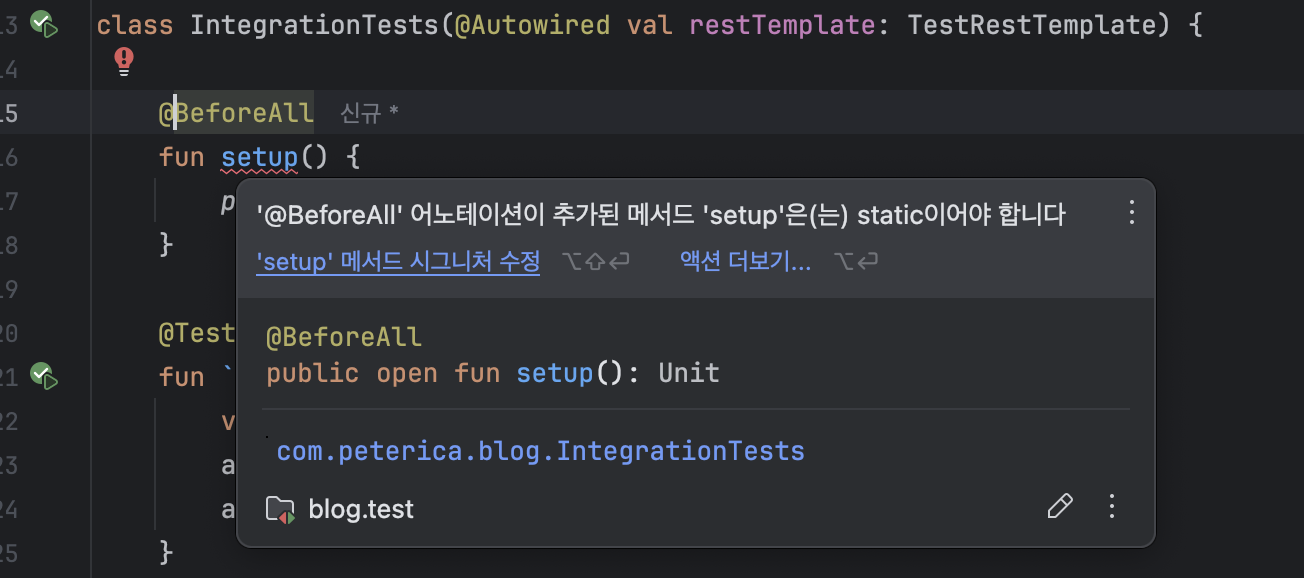
ㅇ JUnit 5에서는 테스트 클래스가 테스트당 한 번씩 인스턴스화되기 때문에 기본적으로 이러한 메서드가 정적이어야 합니다.

ㅇ companion objectKotlin으로 변환하면 매우 장황하고 간단하지 않습니다.
ㅇ 그러나 Junit 5를 사용하면 이 기본 동작을 변경하고 클래스당 한 번씩 테스트 클래스를 인스턴스화할 수 있습니다.
ㅇ 이는 다양한 방법 으로 수행할 수 있습니다.
ㅇ 여기서는 속성 파일을 사용하여 전체 프로젝트의 기본 동작을 변경합니다.
junit.jupiter.testinstance.lifecycle.default = per_class
ㅇ src/test/resources/junit-platform.properties을 생성하였다.

ㅇ static 생성 오류는 해결되었고, 개별 test는 인스턴스화되었다.
@SpringBootTest(webEnvironment = SpringBootTest.WebEnvironment.RANDOM_PORT)
class IntegrationTests(@Autowired val restTemplate: TestRestTemplate) {

  @BeforeAll
  fun setup() {
    println(">> Setup")
  }

  @Test
  fun `Assert blog page title, content and status code`() {
    println(">> Assert blog page title, content and status code")
    val entity = restTemplate.getForEntity<String>("/")
    assertThat(entity.statusCode).isEqualTo(HttpStatus.OK)
    assertThat(entity.body).contains("<h1>Blog</h1>")
  }

  @Test
  fun `Assert article page title, content and status code`() {
    println(">> TODO")
  }

  @AfterAll
  fun teardown() {
    println(">> Tear down")
  }

}
ㅇ 위 구성을 사용하면 @BeforeAll, @AfterAll을 모두 사용할 수 있다.
반응형
'Programming > Kotlin' 카테고리의 다른 글
| [kotlin] Kotlin에서 Java로, Java에서 Kotlin으로 코드 변환 (0) | 2024.05.22 |
|---|---|
| [kotlin] Springboot - 나만의 확장 프로그램 만들기 (0) | 2024.05.21 |
| [kotlin] Springboot 프로젝트 생성 (0) | 2024.05.16 |
| [Kotlin] 널 안정성, Null safety (0) | 2024.05.15 |
| [Kotlin] 변수 선언 (0) | 2024.05.14 |
Comments


